Sending A Push Message
This article will provide information on how to Send Push Messages as well as background information on Push Messages themselves.
Background on Push Messages
Push Messages appear on a device's lock screen for guests that have downloaded your app and allowed notifications for the app. App users are prompted when they first download the app to allow notifications. They can choose to Allow or Don't Allow Push Messages. If they choose to not allow Push Messages when they initially download the app they can always update their Settings. See how to update Notifications Settings in our article: How the Message Center Button Works.
Push Messages on iOS

For more on Apple's Push Messages feature, click HERE.
Push Messages on Android
For more on Android's Push Messages feature, click HERE.
Who Will Receive Push Messages?
There are three requirements for a user to receive a Push Message:
- User has downloaded the app
- User has Allowed Push Messages for your app
- The Push Message you send is set to Broadcast or they are with the targeted segment you are sending the message to.
How To Send a Push Message from the Customers tab in the Customer Dashboard
- Log into the App Manager
- Click Customer Dashboard
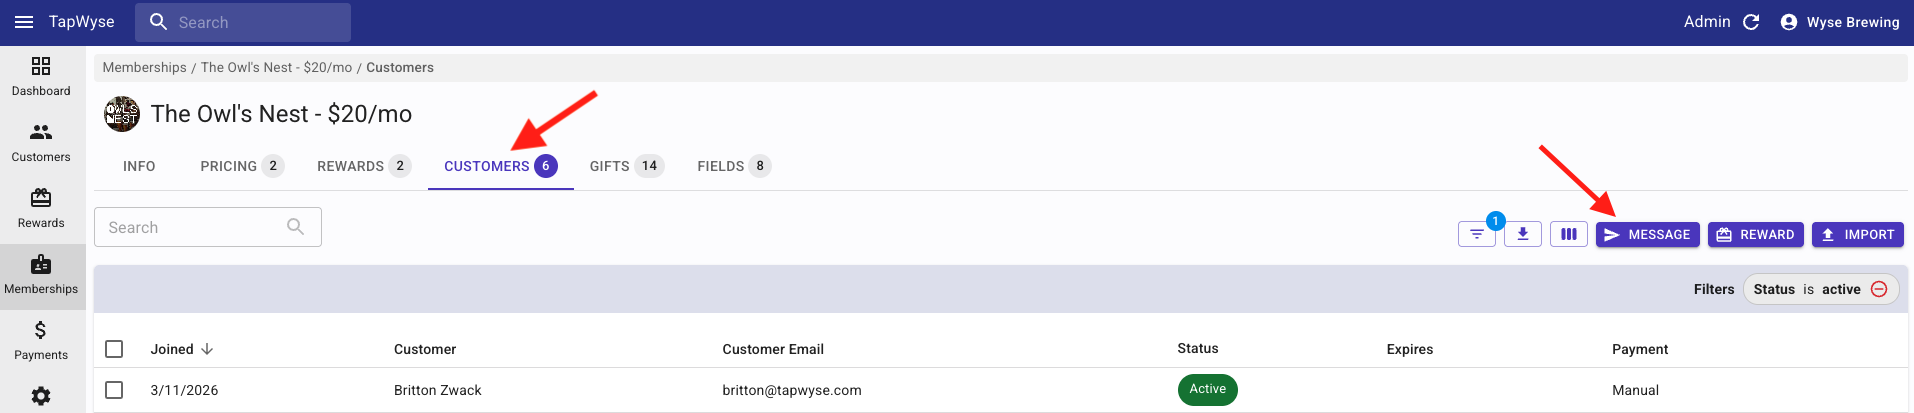
- Click the Customers tab on the left hand navigation bar
- Click the Message button
-
Choose your Audience
- Broadcast: Every person that has downloaded the app, regardless of whether or not they created an account, will receive the push message IF they have Allowed Notifications
- Customers with an active membership: Every app user that currently has an active membership AND have Allowed Notifications will receive the push message
- List of emails: You can enter specific emails of app users that you want to send the push message to. They will receive the push message IF they have Allowed Notifications
- Customers in list: If you have filtered your Customers list, only the app users in the filtered list will receive the push message IF they have Allowed Notifications
-
Build Your Message
-
Schedule
Immediate
OR
Schedule it for a future day & time, then click 'Next'

*You can see your Scheduled Push Messages from the main Quick Start screen of the App Manager.
*If you need to delete a Scheduled Push Message simply click the trash can to the right of the message.
- Choose the Action
All of the Action Type options are reviewed below ⬇️Link to App Page: This 'action' allows for you to choose where in the app the Push Message will send an app user when the Push Message is tapped on from the Home/Lock Screen of the app users device.
You can have the Push Message send the user to the App Home Screen, App Message Center (button where your push message lives once it's sent), Memberships, Reward List, Loyalty (Punch Cards/Points) etc.

Link to URL: You can add a URL so when the app user taps on the Push Message on the Home/Lock Screen of their device the message will direct them to the URL (ex. Facebook Post, Instagram Post, Ticketing Link, Event Link, etc.)
Share: This option opens the app users' device's native share menu, allowing the app user to send a pre-filled message to one of the contacts in their phone via text, email, or another supported sharing method.
The Share Text is the message that will be pre-filled for the app user to share. You can also include a URL in the Share Text to direct the recipient to a specific destination, such as your app download page, website, or an Instagram post, etc.
-
Review
Review the Summary that shows you the Audience, Message, Timing, & Action of the Push Message
*If you made any mistakes simply click on the header where you need to make the change (i.e. Message, Timing, Action), make the update, then click back through to the Summary screen.
-
Send
*Once you send a Push Message you are NOT able to edit or delete the sent message*
Sending A Test Push Message To Yourself
You can send a test Push Message to just yourself or certain people within your organization to see what the message will look like when you send it to your app users.
- From the Customers tab in the Customer Dashboard you can choose certain accounts by clicking the box to the left of the individual Customer Account
- After you choose the Customer Account(s), click the Message button (see above image) and choose 'Selected customers' as your Audience
- Proceed through Steps 6-10 as outlined above
Other Areas You Can Send Push Messages From
Dashboard Tab (in the Customer Dashboard area of the App Manager)
Customer Tab IN each individual Membership
Push Message Analytics
For more information on this, please view the Push Message Analytics article in the Knowledge Base.